Leaderboard
Popular Content
Showing content with the highest reputation since 09/21/2023 in all areas
-
My Asylum Threads, the medals, donations, hell my UOTM Cyan Robe.. Its been almost 5 years. No explanation and truly I did not expect to feel this gut wrench as I logged back in. I am excited don't mistake that. I hope someone will make it right and redeem what name I had. I missed you all very much and I know I never was able to express that. So many great memories and I hope more to come. I know other people find themselves here just as I did to rest from whatever they maybe going through in their lives. To get away for a bit. Its a hell of tough world out here.. Thank you for allowing me a place by the fire again to rest a bit. UOTM "User of The Month" would nominated by someone, then voted those nominated would be voted on by the community. Things like this cultivated a friendly competition. It gave us a chance to be apart of something bigger. A Thread or Theory could only be add to The Asylum by an Admin. Usually if a Theory is added its only because it either became a fact or it was just that damn interesting. I am unaware of how its now... UOTM wasn't always the most active, but they did put some thought into a post. You could tell they sat down, researched, then created and theorized. At times I believed I learned more from Zombies than I did my history class... We all would be tested by the facts vs unknown respectfully. On rare occasion you would witness a Theory led to another and it was almost as if our community manifested certain things. We began to see our debates bring new life in game. To be among other great minds debating lore, deciphering messages, creating guides, creating new ways to play this game with our own events....etc. To be among other great minds to name a few: @MixMasterNut, @GRILL, @anonymous, @Electric Jesus, @Mysteryo, @Lenne, @Hells Warrrior, @Tac, @Spider @InfestLithium - before becoming an admin I remember having to take the Reigns of The Zombie Olympics, while you were on Vacation. The implementation of Liquid Divinium as a website currency was a clutch move. I still have The Call of Duty Zombies TCG cards and the instructions on how to play my man! I don't think anyone will every be able to get these cards. They are one of a Kind. @PINNAZ worked so hard and gave us one of the greatest Audio Archives. Sorry we could never get a decent match! @RichKiller This guy has been credited for solving a lot of the Ciphers. @MrRoflWaffles as a staff member.. who now is a go to for no nonsense guides and his incredible love for Call of Duty Zombies. Youtube: MrRoflWaffles There’s something poetic about the idea of lost recognition. Debating lore, deciphering messages, creating guides, creating new ways to play this game with our own events.. All the posts I created confirmed that maybe I truly did think I did something special here. Coming back to a place where you left a mark but feeling like a ghost.. I was apart of something bigger, only time will tell. A new dawn awaits and I look forward to a bright future.3 points
-
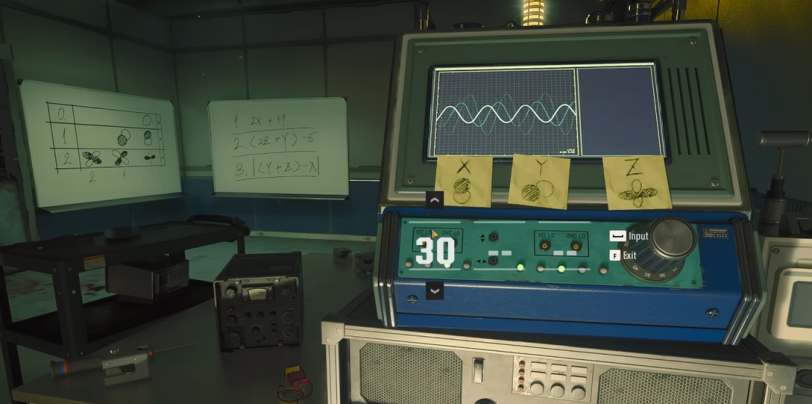
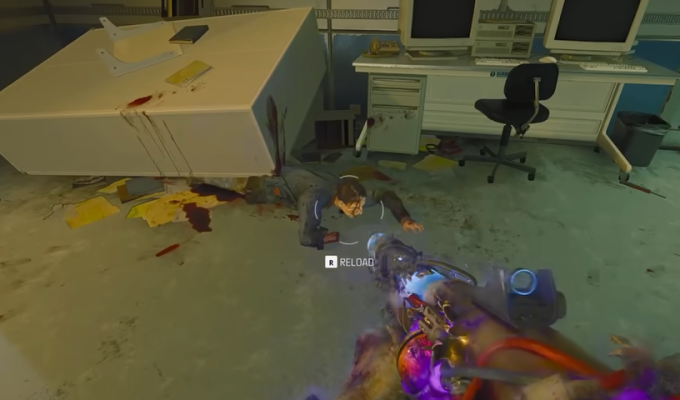
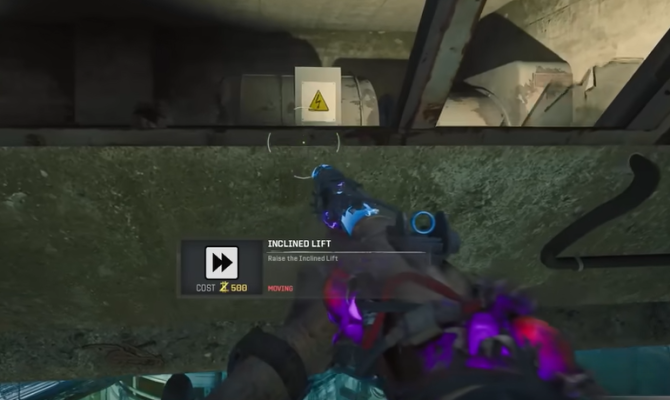
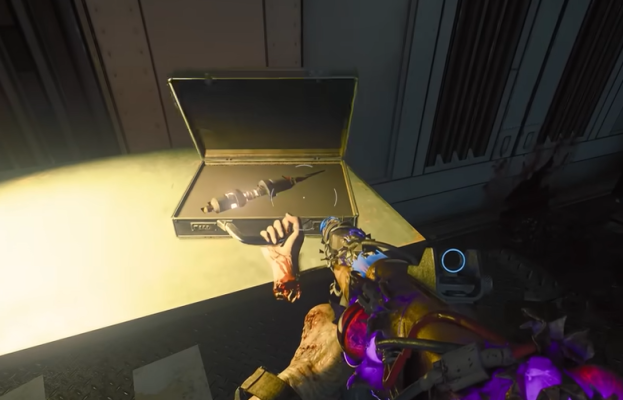
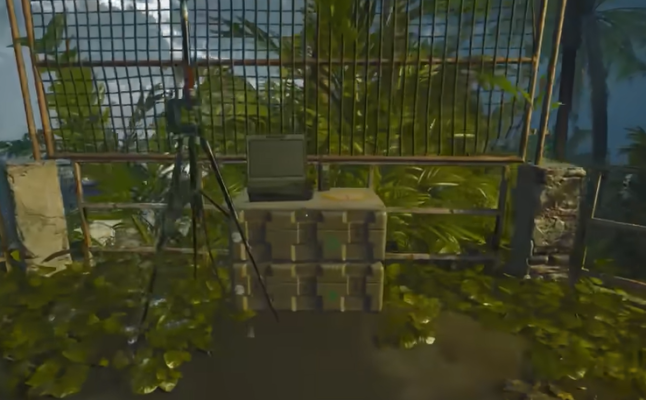
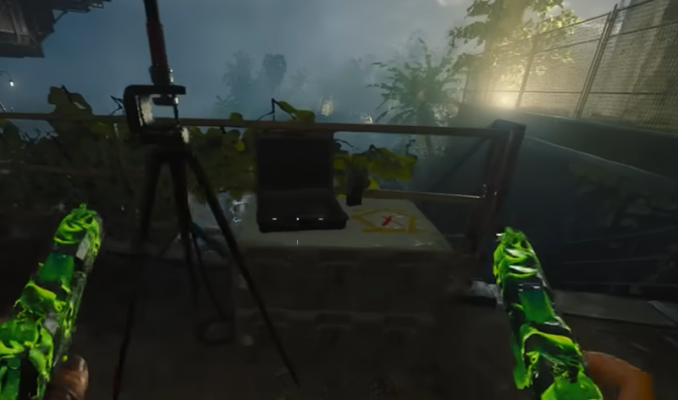
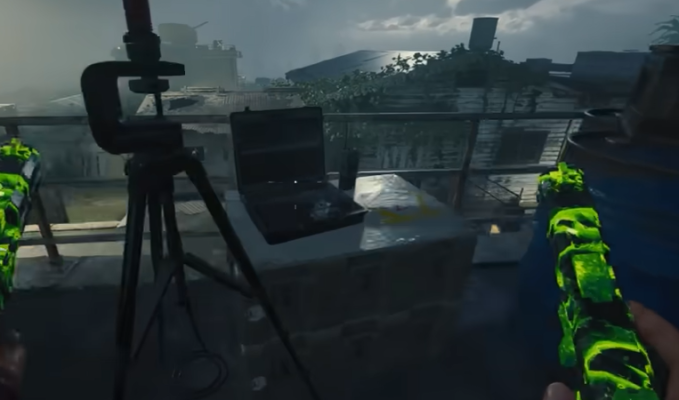
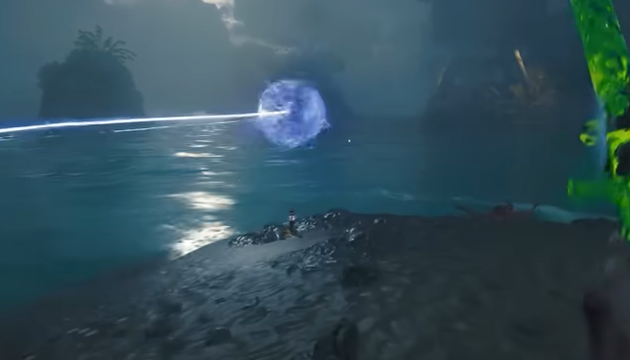
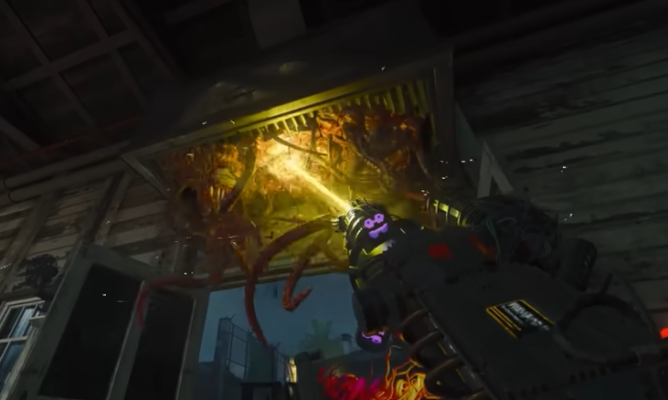
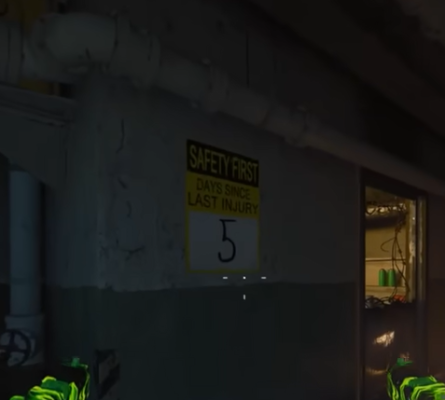
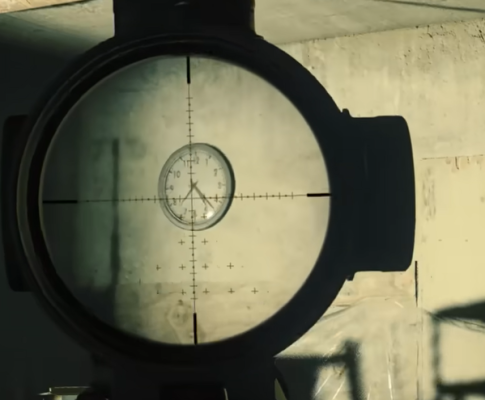
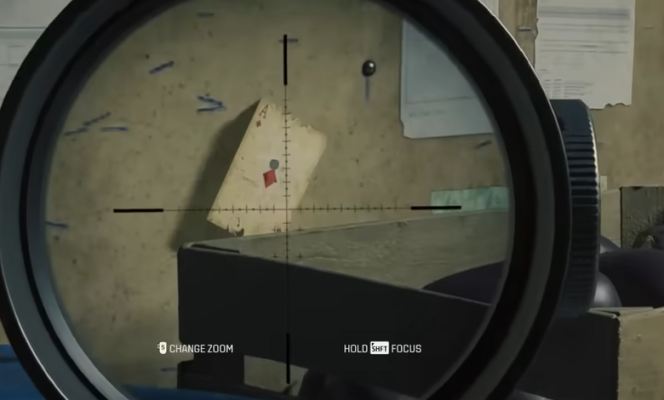
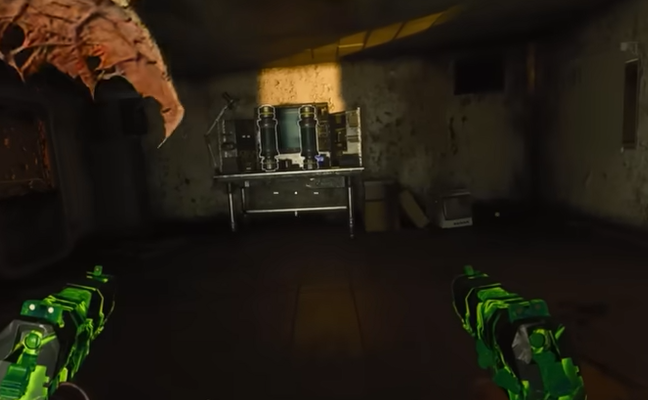
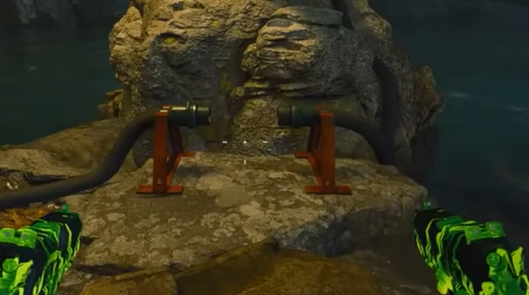
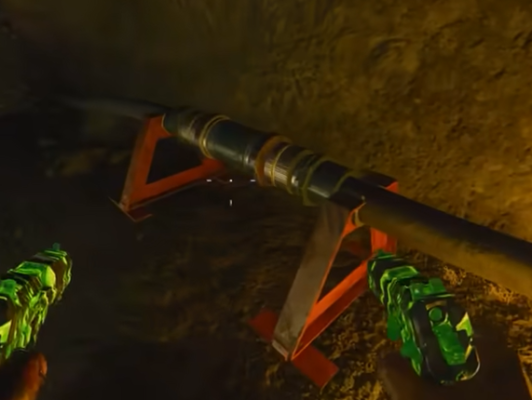
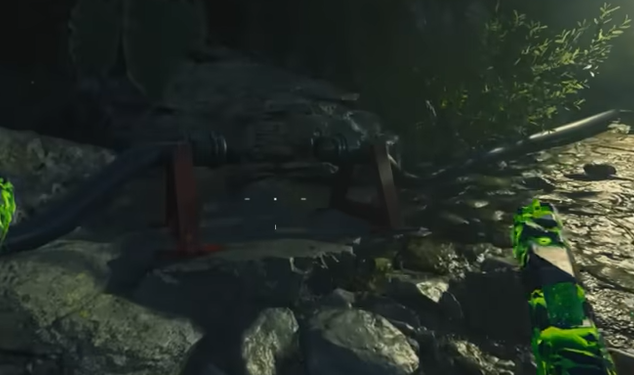
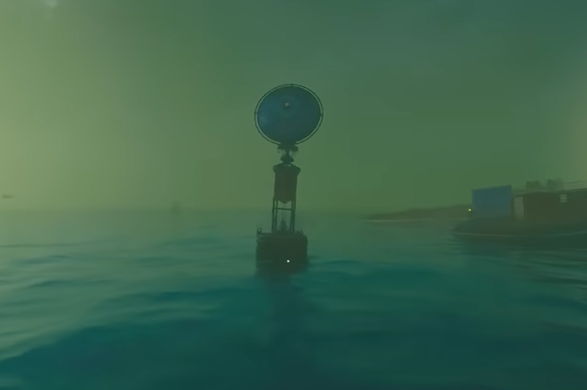
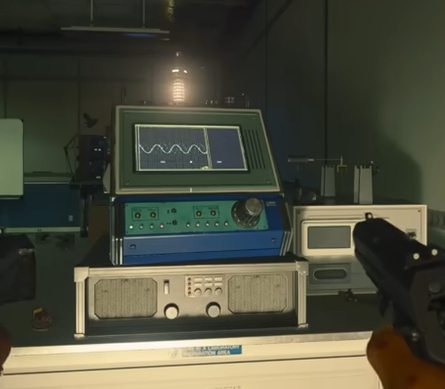
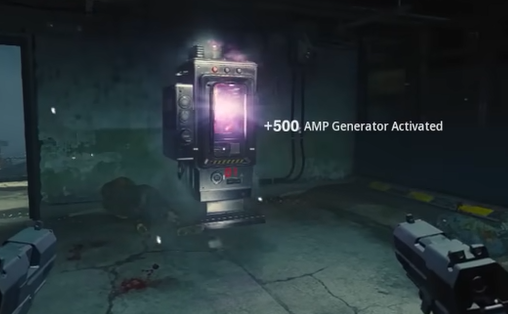
Disclaimer: All screenshots / images are re-purposed from videos form public channels. Source links will be provided at the end of this text guide for credit and reference. ----------------------------------------- Easter Egg Guide Recommendations, tips and tricks for completing this Easter Egg as easy as possible are available at the end of this post. STEP 1: Turn on AMP Generators (power) across 3 locations/modules: Location 1: Guard Station, near exit heading outside Location 2: Juggernog room, near tentacle trap switch Location 3: Bio-Lab, center 2nd floor of entire lab Note: These locations will always be marked by a yellow start icon in the match. Step 2: Activate the Pack-a-Punch machine underwater in the Bio Lab. Step 3: Obtain the Beamsmasher Wonder Weapon. Note: There are two ways to get the Beamsmasher: via the Mystery Box, or by completing the side quest. If you intend on doing the sidequest, expand the spoiler below. Step 4: Obtain the hard drive from a Tentacle Trap by shooting the trap tentacles with the Beamsmasher and give to Peck/Strauss. There are 4 possible locations where this hard drive can drop (see list below); however, you can tell which is the right one by finding the trap that has a broken upper grate and a Project Janus keycard on the floor. Make sure you are using the primary beam of the Beamsmasher on the tentacles, and not the alternate beam. Juggernog room Spawn / Guard Station Bio Lab (entering Speed Cola tunnel) Bio Lab (entering PhD Flopper tunnel) Step 5: Find and enter the 3-digit passcode for the Bio Lab chamber. After completing Step 4, you can actually begin doing this step and location the digits needed to unlock the Bio Lab chamber. The locations for the digits can be found: First digit is in the Quick Revive room. Look at the clock in the zombie spawn barricade and note what hour the short hand falls on. Second digit is in the Mess Hall (cafeteria). Look at the bulletin and note what number is on the playing card tucked on the board. Third digit is in Engineering (workbench, outside of Juggernog building). Look at the "Days Since Last Injury" sign and note the number. Once you have all the digits, go back to the Bio Lab chamber (center of the entire lab) and enter the digits on the keypad. Step 6: Turn the Bio Lab chamber dials to release Nathan. If you are doing this Quest with multiple people, a majority of the squad needs to turn these dials simultaneously. For instance, a 4-person squad only need 3 people to turn the dials. Note: After Step 6, you will enter the mid-Quest boss fight against Nathan. Be warned that this will lock you in the Bio Lab with infinitely spawning zombies until Nathan is defeated. Step 7: Obtain the key card in the bottom of the Bio Lab water. Bonus tip: while you are down here, go to the left where the Pack-a-Punch lift originally was underwater and find a lightly-shaded rock. If you throw/shoot an explosive at it, you will be able to retrieve an oxygen tank. This will be very helpful for the final boss fight. Step 8: Travel to the bottom of the Ship, climb up the ladder, and obtain the nodes. Note; Similar to the Nathan boss fight, you will be locked in the Ship room but only have to deal with 3 waves of zombies spawning in. After completing these waves, the hatch where you entered the room from will re-open and you can exit. Note that while you have the node on you, you will be unable to sprint. Step 9: Take and reconnect the node to 2 of 3 locations that may have a missing pipe connection. Repeat the same for the next node. There are 3 possible locations these incomplete connections can be: Crab Island, opposite of the workbench near the shore Under the Sea Tower (see image below) Speed Cola Sea Caves, right side path Note: It will take a couple of seconds to connect each node, which means you'll be susceptible to zombies while completing this step. Step 10: Return to the Guard Station and obtain the hacking device from Peck/Strauss. Note: Some players have reported a slight delay with getting the hacker device. Make sure the dialog with S.A.M. and the crew finished, then long-interact with Peck at the Guard Station window until the dialogue reactivates again. Step 11: Travel to 3 buoys outside the island water and hack each one within the time limit. Each buoy will flash a yellow light and have satellites on top of them, so you'll know which ones to hack. You will need to jump into the water and interact-hold with the buoy to hack it. Once you hack the first buoy, the timer will begin to hack the others. During this time while you are hacking, you'll be swarmed by Parasites. Step 12: Upon the final buoy hack, immediately go back to the Bio Lab and defuse 3 bombs within the time limit. When you enter the Bio Lab for this step, you will be locked in, similar to the Nathan boss fight. 3 bombs will slow appear in a few windows that you'll need to de-activate. Their locations are always the same: Ground floor (floor where Melee Macchiato is at), left window before left stairway begins Ground floor (floor where Melee Macchiato is at), right window before right stairway begins 2nd floor directly under the 3rd floor De-activating the bombs take a LONG time, and you will absolutely be susceptible to zombies. If you are doing this with a 2 or more squad, the bomb progress will SLOW RESET if you do not complete it all the way (bomb progress is halted in Solo). I highly recommend throwing down Decoys/Monkey Bombs and using Aether Shroud to get through them all. Note: Failure to complete this step will immediately end the game. It's important to be well-prepared before attempting Steps 11-12. Step 13: Enter the Bio Lab door near Melee Machiatto where the boats spawn for the final boss fight. Note: Once you enter the boss fight, the next round will "start" but you will be locked in the docks area. It is widely and strongly recommended to have a Chopper Gunner scorestreak, Tier 3 armor, full equipment, mid-level upgraded guns and at least 10k essence before starting this fight. THIS BOSS IS LONG AND DIFFICULT. But still do-able. Round number does not change the boss health or damage. There are 3 phases to this boss, with an intermittent "break" between each phase. Infinite zombies will be spawning all throughout this fight. Phase 1 is basic - shoot the red tumors on the boss's arms, as these are the critical spots for damage. Boss will occasionally slam and sweep the field, so hide behind the boxes in the corners to avoid this attack. Interim Phase 1 begins after you get Phase 1 ends (33% health gone). The boss will disappear and multiple zombies will appear including a couple Manglers, which you will want to defeat. You'll get a max ammo after surviving for a while. Phase 2 is the same as Phase 1, except the critical spot is now the mouth. Same attacks as before. Eventually, the critical point will move to the boss's tentacles (where you'll see yellow tumors). Interim Phase 2 begins after Phase 2 ends (66% health gone). Same as previous interim phase, but now Amagalms are in the mix. You'll get a Max Ammo from this as well. Phase 3 is the most difficult. Besides the previous attacks, the Boss will now slowly charge a blue energy ball above its head. Right before it unleashes it (which is a ONE-HIT-KILL), jump into the outside water and let the attack finish, then resurface and climb back up onto the docks. Critical spot will be its head while it's blue. When it turns red, it will get red tumors in the same spots as Phase 1. Rinse a repeat until the boss is defeated. Alternatively, shortly after this phase begins, go behind one of the corner boxes and activate the Chopper Gunner scorestreak. Shoot the head and you should be able to almost if not completely defeat the boss with this alone. Completing the Quest will allow you to exit the match with Exfil-like rewards or continue playing. If you choose to continue, round-based zombies will return and you will be presented with several rewards such as Wonder Weapons, all perks obtained, rarity upgrade tools, and scorestreaks. -------------------------------------------------------- Image/video sources: https://www.youtube.com/watch?v=VvsvyH3h-xk https://www.youtube.com/watch?v=W2AKsf1IH8M -------------------------------------------------------- Recommendations The Terminus Easter Egg has a sharp learning curve to it for most players. Here are some weapon and equipment setups that will help you further succeed in completing this Easter Egg. WEAPON LOADOUT Primary: GS45 (akimbo) or ASG-89 The GS45 akimbos are basically Mustang & Sally. Not only will they keep you alive for most of the quest, but they are highlight effective against the final boss, allowing you to hit ANY part of its body and do damage. Not to mention, they will melt the Nathan boss fight as well. For the final boss fight: Rarity 3 and Pack-a-Punch 2 will do just fine. The ASG is a heavy-damage gun that shreds Manglers and does good damage on the crit spots of the final boss. Paired with Dead Wire, it can also take down Amagalms easier and still do big damage against manglers. For the final boss fight: Rarity 3 and Pack-a-Punch 2 will do just fine. EQUIPMENT LOADOUT Tactical: Decoy/Smoke Lethal: any (preference: Combat Axe) Field Upgrade: Aether Shroud You absolutely will need some kind of decoy tactical to do a couple of steps that involve turning your back on zombies, especially the bomb step. While you can also craft these and Monkey Bombs at the workbench, I highly recommend starting out with some to stack a couple ahead of time before wasting your salvage. I do recommend the Combat Axe as a lethal simply because it's retrievable and One-Hit-Kills normal zombies. You can stack up to 5 (from my experience), and works very well when trying to conserve ammo during the final boss fight. Aether Shroud will absolutely help in some of those time-sensitivity steps and help you deliver some nearly-uninterrupted damage on the final boss. Overall a very solid field upgrade to stay alive with. GOBBLEGUM LOADOUT Cache Back (spawn Max Ammo) Shields Up (replenish all shields) Idle Eyes (ignore zombies for 30 seconds) Hidden Power (upgrade current gun to Legendary rarity) Wonderbar! (next Mystery Box roll will yield a Wonder Weapon) Most people would run with Cache Back and Idle Eyes, simply because ammo and time is so precious in BO6. If you're looking to min/max the Quest, however, nothing beats saving salvage and essence like Hidden Power and Wonderbar to skip the tediously-long Beamsmasher side quest or get your primary weapon ready for the boss fight early on. It's up to you what you value most when doing the Quest. PERK SETUP Quick Revive (+Equivalent Exchange augment a major plus) (preferably with squad) PhD Flopper Stamin-Up Quick Revive is always a must. And with Equivalent Exchange during a squad Easter Egg hunt, you can get back into the fight quicker. PhD Flopper is also a must if you're going to use the GS45's Pack-a-Punched versions, Sally & Forth. Stamin-Up will help you escape tight moments easier, which for a map like Terminus, is going to be very handy for you. In reality, however, you don't need to prioritize much on perks (aside Quick Revive), as you can get free perks by doing some of the side quests in Terminus. The real need for them arrives when it's time for the final boss fight. OTHER TIPS If you are not high enough level to craft a Chopper Gunner for the final boss fight, then do your best to get one from a drop by a Mangler or Amagalm and hold onto it tightly. You can do without it for the final fight but it would be insanely easier with one. You can avoid doing an armor upgrade up until you're ready to start the boss fight. It's a good way to save another 6k essence by skipping Tier 2 armor early on. Do the basketball side Easter Egg for several thousand free essence. If you have the Who's Keeping Score Gobblegum, you can double those earnings, making Pack-a-Punch earlier on totally possible. S.A.M. trials are very 50/50 while doing the Quest, so I'd personally recommend avoiding them unless you feel very confident you can manage your resources wisely. Open/dig as many chests and bone piles as you can every round. That's easy essence, salvage, and sometimes a Ray Gun or Perk-a-Cola!1 point
-
Really hoping good things for BO6. Terminus looks like the traditional Zombies we've been wanting with a more modern system/feel. It's refreshing. Liberty Falls...I'm worried will be another MWZ. Based on the recent media we got, it looks like 3arc listened about the poor UI and design elements, but kinda thinking it'll still pale in comparison to Terminus. Probably meant that way to appease large-environment players (those who enjoyed Outbreak in CW) and old-school players with Terminus. As far as Gobblegums go, I really hope they get more artistic liberty with them like the Whimsical GGs we saw in BO3. Might not mean much but it was playful and brought fresh blood to super long matches. At least IMO.1 point
-
There's been a pastebin leak floating around that showed the Black Ops 4 intentional lifecycle. HOWEVER, it's best to take a grain of salt of this anonymous pastebin leak. So... here's the Pastebin Leak. Defiantly taking reads from this... As what I'm getting from this, it actually appears that Tranzit would've made it's full grand return, if we got that Year 2.1 point
-
I'm glad you've liked it! I still plan to keep it going, I've just had issues with time and motivation.1 point
-
1 point
-
Not sure why this hasn't been pinned yet, but by god @PINNAZ you are just a legend. It's like - the more I peer back into these older threads, the more I'm realizing that these are treasures and provide wealths of information.1 point
ABOUT US
Call of Duty Zombies (CODZ) is a fan-managed gaming community centered around the popular Call of Duty franchise with central focus on the Zombies mode. Created in 2009, CoDZ is the ultimate platform for discussing Zombies theories, strategies, and connecting players.
Activision, Call of Duty, Call of Duty: Black Ops titles, Call of Duty: Infinite Warfare titles, Call of Duty: WWII are trademarks of Activision Publishing, Inc.
We are not affiliated with Activision nor its developers Treyarch, Sledgehammer, or Infinity Ward.
PARTNERS & AFFILIATES
Interested in becoming an affiliate/partner or looking for business opportunities? Shoot us an email at [email protected] to join the CODZ family. While you're here, show our partners some love!
SITE LINKS
Our most popular pages made convenient for easier navigating. More pages can be found in the navigation menu at the top of the site.


