-
Posts
2,952 -
Joined
-
Last visited
-
Days Won
302
Content Type
Profiles
News & Announcements
Zombies Library
Easter Egg Guides
Intel
Forums
Everything posted by anonymous
-
-
I like the idea, but don't forget creativity flows from freedom and joy. As a reader, I'd be fund on more chapter releases, but don't work on it when you don't feel like. Writing a book should be fun, not obligated. If I may ask, is this self-motivation only lacking when you have to start, or also while working on it? @Lenne Looks like the short blackout of the site a couple of hours ago made your comment disappear
-
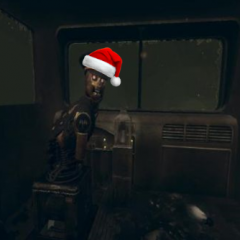
Thank you @Schrödinger, I searched hours for a picture like this: Clearly an evolutionary predecessor for the Keepers? Or a human-Keeper hybrid? Why is he wearing a crown, though Thank you @Schrödinger, I searched hours for a picture like this: Those teeth: An evolutionary predecessor for the Keepers? Or a human-Keeper hybrid? Why is he wearing a crown, though.
-
It would be a shame if they didn't saw the potential in this. After all, it doesn't harm them, right? You should definately make contact with them first, though
-
If you've finished this book, you should seriously contact a book presser. This doesn't undergo any other professional work
-
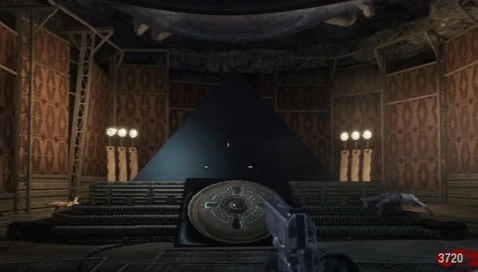
That part those zombies came marching on the podium was really unnerving, I could really vizualize that. Curious to what your further involvement of Die Spinne will be, as this is an area officially never touched by Treyarch. It's admirable how you make every chapter of this story that I thought to know so well so unpredictable! Also, gotta taste a Blowtorch soon!
-
This final step can be done anytime, as long as you have inserted all NAVcard and succeeded in all three Easter Eggs for either Richtofen or Maxis: Tranzit's Tower of Babble, Die Rise's High Maintencance and Buried's Mined Games. Head to the back of the ground floor of the Courthouse in Buried. You will find a 3x4 light grid. This device can be used to track your Easter Eggs. The light in the left column shows whether or not you've achieved the Tower of Babble (on or off) and for what side (blue Richtofen or yellow Maxis). The second column corresponds with High Maintenance and the right column with Mined Games. If all lights in a row show the same colour, one has to shoot the device to reveal a button. Pressing this button will activate the endgame. Congratulations you've got so far!
-
When all three Towers are activated in the maps Tranzit, Die Rise and Buried, you have to connect those locations by inserting the NAVcards. The player can only hold one Navcard at a time, picking up a different Navcard while holding another Navcard will replace the existing Navcard the player is currently holding. So make sure you insert the right NAVcard in the reader, before continuing collecting other NAVcards. The NAVcard in Tranzit can be found in front of a dumpster behind the lavapool on the right side of the Busdepot. The NAVcard in Die Rise can be found in the same room as the PDW-57 wallbuy, near some short cupboards. In Buried, the NAVcard is located on one of the bookshelfs in the Mansion, upon coming from the Maze side. Take care you do this under the same online player account. When you have found a NAVcard, you have to return to the NAVcard readers in another map to insert it. The Tranzit card can be inserted in the Die Rise reader, the Die Rise card in the Buried reader and the Buried card in the Tranzit reader.
-
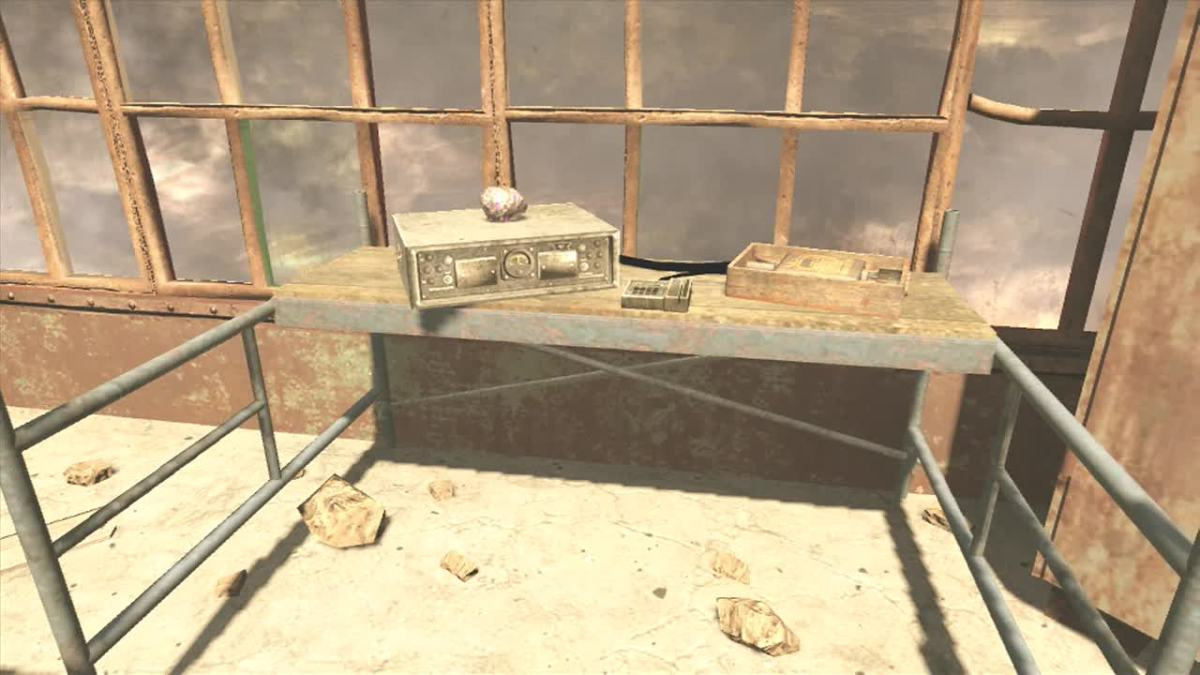
If you haven't yet, make sure you have built the Navcard readers in Tranzit, Die Rise and Buried. The device requires four components, which can be carried one at the time. So make sure to add a part to the construction site before grabbing another. In Tranzit, it can be build under the Tower in the cornfield between Farm and the Power Plant. The essential parts can be located on multiple locations: 1) The meteorite: In the hole in the wall at Bus Depot, next to Mystery Box spawn. 2) The wooden plank. This one can be found on two possible locations. In the Tunnel between Bus Depot and Diner, next to the M16 wallbuy. In the lava part of the Powerplant, on a platform beneath the workbench and Tombstone. 3) The radio. This one can be found on two possible locations as well. In the garage by Diner (in the room with the car) on top of a shelf. It must be picked up while jumping. Inside the Prototype (Nacht der Untoten), located in a cornfield between the Farm and the Powerplant. 4) The electric box. This one can be found on three different possible locations. In Town between the dumpster and the Mystery Box spawn. In the farmhouse, next to the fridge. Next to the busdepot, behind the lavapool. In Die Rise, the NAVcard reader can be build under the ramp leading to the Tower on the roof with the dragon. The locations of the parts are the following: The meteorite: In a corner next to two transformers close to the two elevators that go down into the power room and the claymores upstairs. The wooden plank: Right under the Tower, next to where the Navcard reader has to be build. The radio: Behind the opening leading downstairs. The electric box: In the upside down area in the other building. To reach this, go up the ramp and onto the Tower. Now jump to the other building and go to the end of the platform. Here, drop down another level. In that area will be the electrical box, placed in the corner. In Buried, the NAVcard reader can be build in the room at the mining facility on the surface, right under the spawn room. This room can be accessed by teleporting via the Fountain in the Maze. The locations of the parts are the following: Meteorite: In the room where the NAVcard reader can be built. Wooden Plank, Radio, and Electric Box: These three parts are located at the same location. Behind the stables, accessed by either buying the door within the building, or smashing the debris by the B23R with the drunk Big Guy.
-
If you haven't yet, use the Big Guy to break the debris on the Fountain near the Church. Now, the player can interact with the Fountain to 'make a wish', triggering a sharpshooter challenge. A total of 84 metal targets spawn in the map via lightning. The player has to shoot them all before they disappear. The locations of the targets are: Beside the Candy Store and in front of the court room. (20 targets) The left side of the Mansion, in the windows. (23 targets) Inside the Saloon. (19 targets) By the Jail cell. (22 targets) This is the last step of Maxis's Easter Egg in Buried, you've now activated this Tower under his quest. You are now ready to move on the the Endgame! Hint: the Paralyzer does actually work on the targets and is a very useful tool in hitting them all. Hint: It is also recommended that the Big Guy has been given Candy near a crawler zombie, so that the players need not worry about the round ending in the middle of trying the sharpshooter challenge.
-
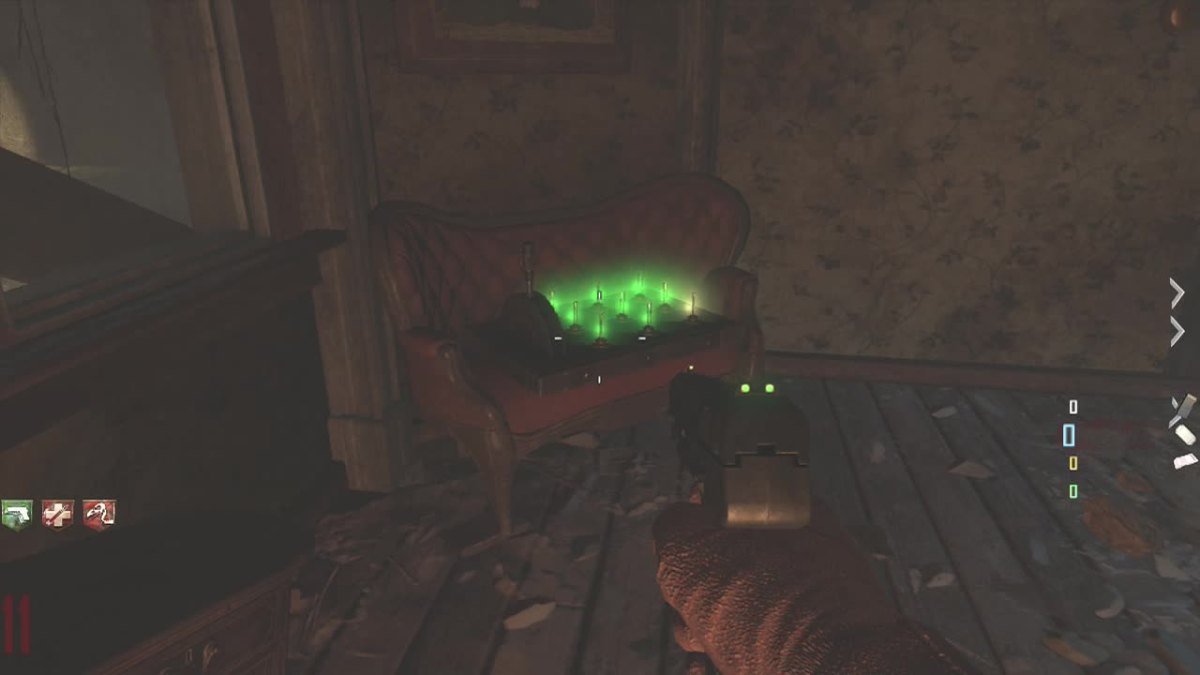
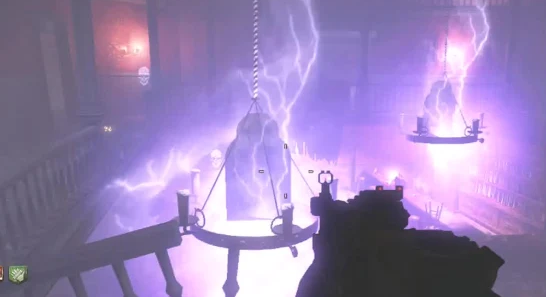
For this step, Maxis asks you to find a grid to direct the energy from the gallows to the Tower on the surface. To do so, you have to localize a total of nine bells, spread over three locations. The locations are: At the bottom floor of the Courthouse. On the left side of the judge's podium. Table on the right side of the Courthouse closest to the podium. In the corner of the Courthouse, when the player turns left right after you enter the Courthouse At the second floor of the candy shop (the room next the the room with the Power Switch) On the corner of the square table along the wall. On the table with two pots, near the couch blockade. On the chair to the right side of the door to the stairway. At the top level of the barn. On the bale of hay just before the players drop down to the jail cell. To the right of the hole in the wall near the gunsmith building, on a bale of hay. On a bale of hay to the right of the gap in the railing. Make sure there is a player at each location. Now the fourth player has to go to the Mansion, to the room right after the secret hallway behind the moving bookshelf. One a sofa, one can find a switchboard with a lever. This switchboard has a 3x3 pattern of lights. The columns from left to right correspond to the bells in the Candy Store, the Barn, and the Courthouse bells respectively. When you approach the switchboard an onscreen indicator will ask you to press your action button in order to pull the lever. If this indicator does not appear, then you have not completed the previous steps correctly. As for the players at the bell locations, an onscreen indicator will ask them to press their action button the activate the bell. When someome activates a bell, one of the lightbulbs on the switchboard will be activated. The switchboard basically functions like some kind of hub for the bells, and you have to find out what lightbulb corresponds on what bell. Simply test all bells and remember what lights they activated. A usefull strategy for this is to number all of the bulbs and corresponding lights. Now the person at the switchboard has to pull the lever, and a bulb will light up. The person at the right site has to activate the corresponding bell. Do it quickly, because the players also have to ring the bell within a certain timeframe, or else the switchboard will reset. If done correctly, the light on the switchboard will turn from yellow to green. Now, another bulb will produce a yellow light. If the bell associated with that bulb is activated, then that light will also turn from yellow to green. The two bulbs properly activated will remain green and another bulb will produce a yellow light, this will continue until all lights are green. If the wrong bell is activated the bulbs will turn off and the player will need to pull the lever again. Once the entire switchboard lights green, the step is completed. Hint: For the person that goes in the Mansion it is recommended to have the Galvaknuckles, as you can kill the Witch in one hit and it is very likely he has to stay there for a while.
-
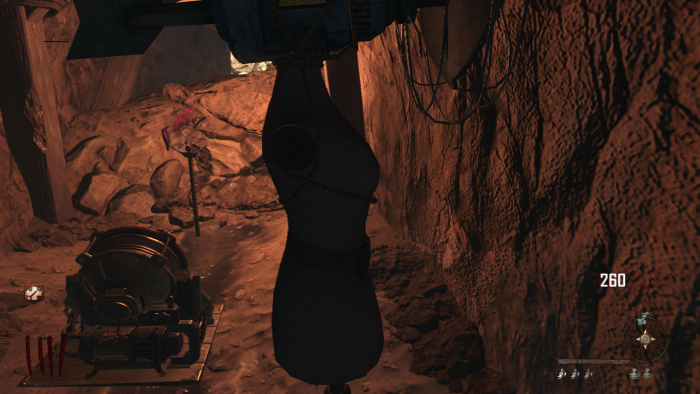
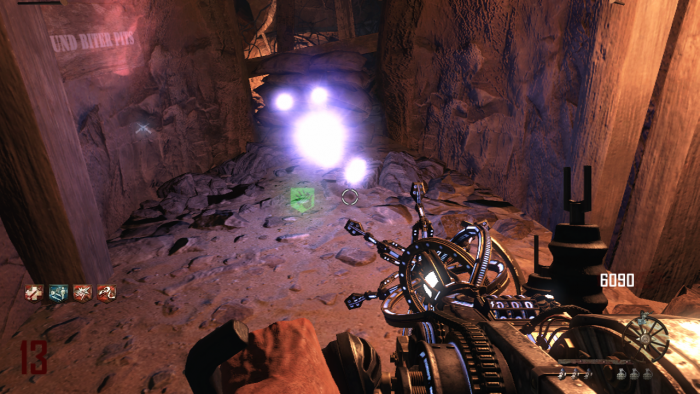
Upon spawning, the Wisp starts to navigate through the map. You will have to keep up with it and make sure you kill zombies around it, as their energy basically 'feeds' the Wisp. If you won't kill zombies around it, the Wisp will slowly decrease in size. The final destination for the Wisp is the gallows and it'll fill one of the canisters. In case of a small Wisp, a smaller part of the canisters will be filled so make sure it is 'well fed' with energy from the undead! Once the Wisp arrives at the gallows, Maxis will say that the Wisp's energy is exhausted and you have to manipulate time. With this he means that you have to activate the Timebomb and repeat previous and current step. After doing so, the canister is fully filled and Maxis will say that the structure has power, meaning that this step is completed.
-
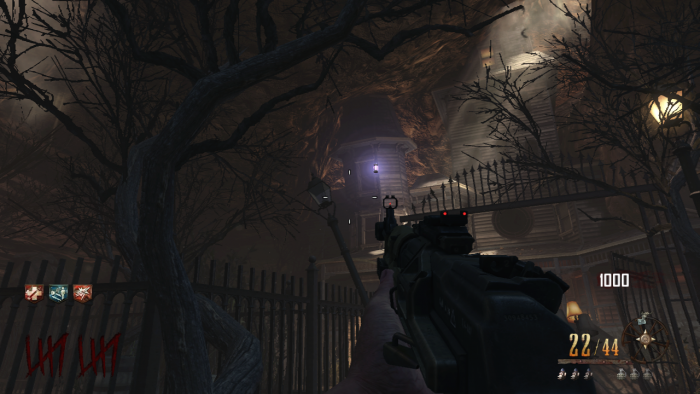
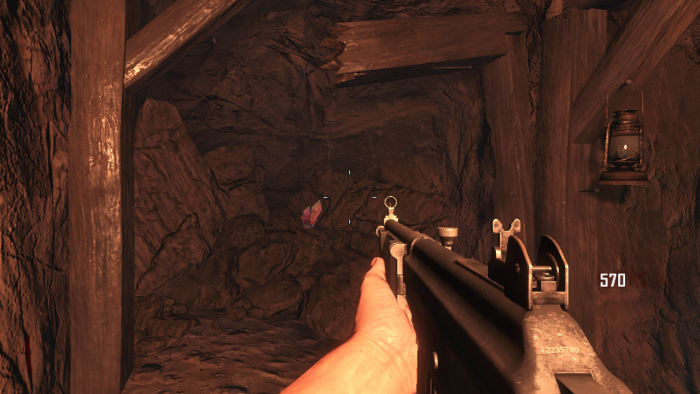
Once the Lantern is placed, it will reveal 3 lines of codes on the roof. These lines will each be made up of symbols. You must figure out from this code which three signs to punch with the Galvaknuckles, one from each line. The order doesn't matter. But before you continue in this step, make sure you have placed a Timebomb! In the tunnels above the town there are five signs, and the phrases on each sign correspond to a code sequence shown below. Each is 17 characters long if the player counts the spaces as a character. The players need only decode the first letter of each sign as all five are different. DRY GULCHER SHAFT LUNGER UNDERMINES CONSUMPTION CROSS GROUND BITER PITS BONE ORCHARD VEIN You can use the above reference to figure out which three signs you must punch, or if you would like to decipher the whole sequence, you can use this guide: So for example, say that you have the following codes appear on the wall: The first line begins with: If we line up the white chalk with the guide, it fits into the top right. If we then line up the red chalk with one of the three letters within, we get the letter "G". The only sign that starts with a G is Ground Biter Pits, so we know that is one of the signs. You can follow the same process with the rest of the code to decipher it, and with the next two lines to figure out which signs to punch. Now that you know the sign names, locate them in the tunnels above. Once you have found them, in any order, punch them with the galvaknuckles in quick succession to spawn the wisp and begin the next step. Note: It is recommended to read the next step before you end the current step.
-
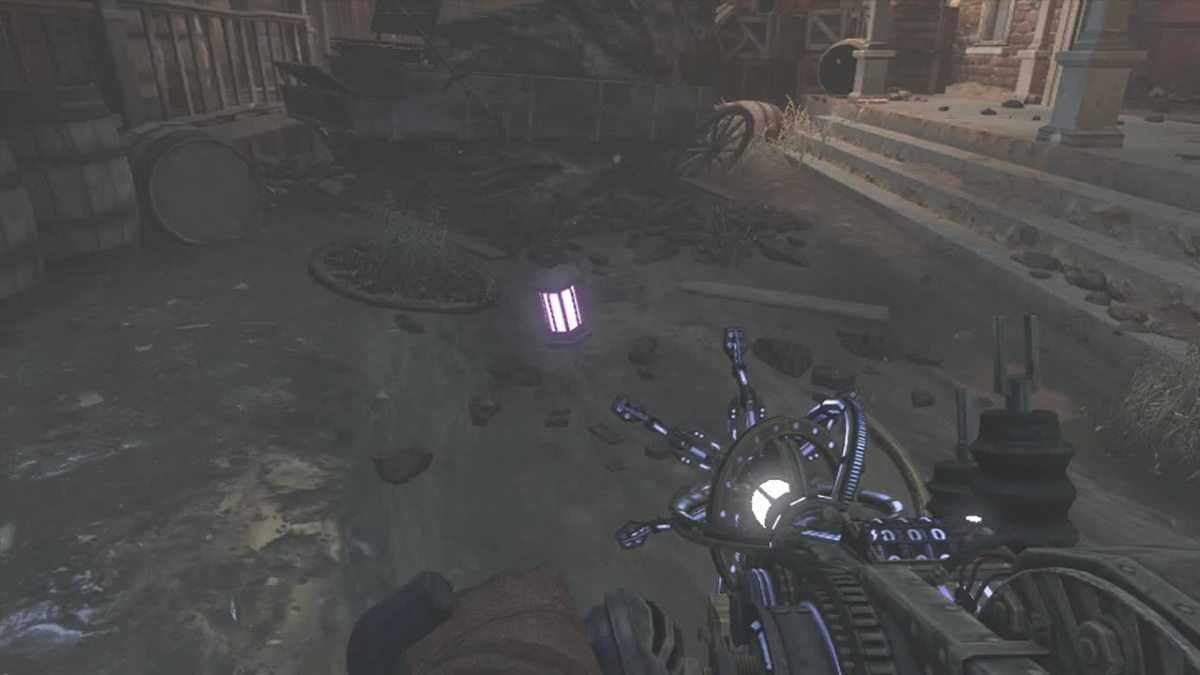
After all four Amplifiers are destroyed, a purple Lantern will appear, floating from the Courtroom to the Church or from the Courtroom to the Jail. The player needs to use a grenade to knock the Lantern out of the air, timing it such way that the grenade explodes when it is right next to the Lantern. The Lantern will fall down on the ground and the player has to pick it up by interacting with it. Subsequently, the player has to charge the Lantern with the life force of the zombies. However, killing zombies directly won't work so you have to use the Trample Steam, the Subsurface Resonator, the Head Chopper, a Nuke Power-Up or feed the Big Guy a candy so he will kill zombies around you. Maxis will say that the "energy within the Lantern is essential for exposing spirits of those who came before you". With this he means that once the Lantern is fully charged up, you have to place it on the roof of the Gunsmith Shop
-
During the next step, Maxis asks you to destroy the so-called Amplifiers. These are four orb-like devices, embedded in the ground, spread across the map. Their locations are the following: One in the alley between the Saloon and Candy Shop One on the left side of the Church, behind a large rock laying in front of the Church. One somewhere in the mining caverns above the Town. One in the backyard of the Mansion but before the Maze. Upon exiting the Mansion, at the right side of the foliage. To destroy an Amplifier, one has to place a Subsurface Resonator aimed at one. Now place a Turbine next to it and the Subsurface Resonator will break the Amplifier. Hint: To build the Subsurface Resonator and Turbine, one can use the Big Guy by giving him a candy in front of a workbench.
-
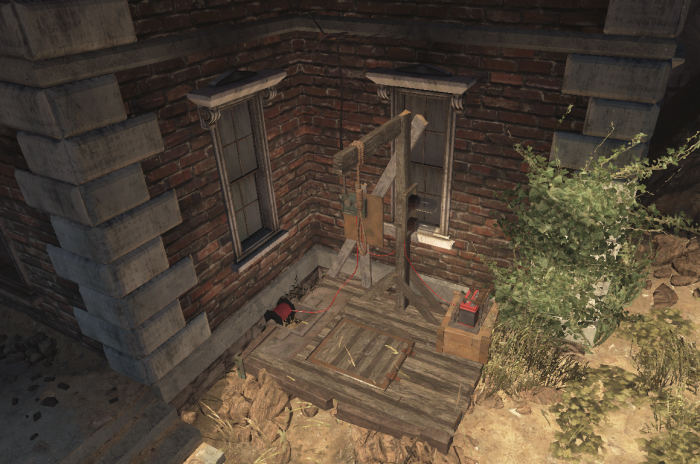
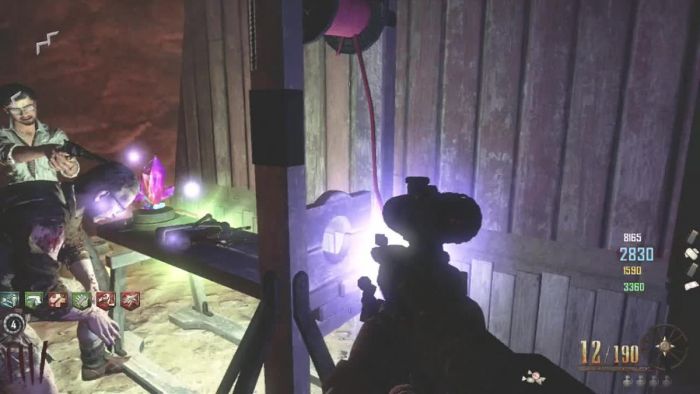
Maxis asks the player to find a way to harness energy, with that he means you have to build the gallows as an energy conduit. It can be build right in front of the Courthouse. Building the gallows requires four parts. The player can carry only one part at the time, so make sure you add a component at the guillotine building site before you proceed with finding a next part. The battery. This can be found behind the altar in the Church A spool of wire: This is located at the Blacksmith's Shop, second room downstairs (the same room as the one that provides a tunnel to the bank). An antenna: Located in the barn, downstairs in the stables next to an entrance to the tunnel network. The bulbs: Located on the second floor of the Jail building, on top of a couple of boxes.
-
If you haven't yet, use the Big Guy to break the debris on the Fountain near the Church. Now, the player can interact with the Fountain to 'make a wish', triggering a sharpshooter challenge. A total of 84 metal targets spawn in the map via lightning. The player has to shoot them all before they disappear. The locations of the targets are: Beside the Candy Store and in front of the court room. (20 targets) The left side of the Mansion, in the windows. (23 targets) Inside the Saloon. (19 targets) By the Jail cell. (22 targets) This is the last step of Richtofen's Easter Egg in Buried, you've now activated this Tower under his quest. You are now ready to move on the the Endgame! Hint: the Paralyzer does actually work on the targets and is a very useful tool in hitting them all. Hint: It is also recommended that the Big Guy has been given Candy near a crawler zombie, so that the players need not worry about the round ending in the middle of trying the sharpshooter challenge.
-
When you're back in a normal round after succesfull endevours in Round Infinity, Richtofen says you have to go to the Maze. If you head to the Maze, four levers with different colours (Red, Green, Blue and Yellow) can be found on four different gates. This step is all a matter of activating the levers in the right order, via trial-and-error. If all four levers have been activated, all will spark electricity. However, if you've tried the incorrect order, the players have to return to the Town area and head back to the Maze again, to reset the levers. Hint 1: If a lever has been activated at the correct position, it will spark after all four levers are activated. So say that the correct order is R-G-B-Y, and you have tried R-B-Y-G, though you've tried the incorrect order, the Red Lever is activated at it's right position so this one will spark after all four levers have been tried. Hint 2: Sometimes, one of the levers won't spawn due to a glitch (yellow is the most occasional one). This can be helped by resetting the levers, so return back to the Town area. Hint 3: If the players go into the Candy Shop, behind the counter, there will be 4 jars. Each have a color in them which represents the color of the levers. Reading them from left to right, while a good starting point, may or may not give the player the correct color order. Trial and error will be the best bet for everyone on the team. Remember to mark which possibilities have already been tried by the team.
-
For this step there must be four players. If you have completed the prior steps alone, make sure three teammates hop in to assist you with this one. One of the players needs to have a Timebomb, and place it on the charged guillotine bench. All four players have to stand around the device and the Timebomb can be activated. Doing so will send the players to 'Round Infinity', where the game is black and white and the zombies are nearly invulnerable. The Big Guy can be fed candy to kill zombies, though, and Monkey Bombs still work here as well. The players have to find a switch, placed on one of the bodies of Samuel, Russman, Misty and Marlton. Their bodies can be located on: Directly in front of the guillotine. In front of the Saloon entrance stairs. To the left of the Gunsmith Shop entrance. In the crevice behind the Barn and the Gunsmith Shop, where the Navcard Table parts are also located (behind a wall that can be opened with a drunk Big Guy). In front of the Jail entrance. In between the General Store and the first Magic Box location. In the alley between the Candy Store and General Store, the one leading to the Courthouse area. In between the giant rock near the gallows and the awning of the Candy Store, near the arrow sign. Behind the rock to the left of the church, where you've also charged an Amplifier Just past the entrance to the Church, nearby the workbench. The alleyway between the Bank and Barn walls, the body will be laying on the wall of the bank. Once you've found the switch, interact with it to grab it and head back to the guillotine where you have to place the switch on. But do it quickly, Round Infinity will last merely 90 seconds. If the players fail, they have to wait to get another Timebomb and repeat the step.
-
The Wisp is a ball of energy that spawns in front of the final sign of the previous step. It is only visible when the player has drank the perk Vulture Aid. To move the wisp, the player has to interact with it within 15 seconds. If no player interacts with the Wisp within 15 seconds, it will fade away and the player will need to hit the signs again. If the player interacts with the Wisp, it will disappear and reappear somewhere else, visible through the walls if you have Vulture Aid. When interacting with it for the first time, it will reappear at the second level of the barn, then at the second floor of the jail cell building, then to the second floor of the general store, then in the candy store and then it goes to the guillotine, where it will remain. The player must now lure zombies near the guillotime. When close enough, the Wisp will inhabit a zombie and the player must kill it for it's energy. One by one, the player has to kill the zombie that is inhabited by the Wisp, untill the guillotine is fully powered up. Richthofen will confirm this by saying that you accidentally created a hole in the fabric of space-time along the way.
-
Once the Lantern is placed, it will reveal 3 lines of codes on the roof. These lines will each be made up of symbols. You must figure out from this code which three signs to punch with the Galvaknuckles, one from each line. The order doesn't matter. In the tunnels above the town there are five signs, and the phrases on each sign correspond to a code sequence shown below. Each is 17 characters long if the player counts the spaces as a character. The players need only decode the first letter of each sign as all five are different. DRY GULCHER SHAFT LUNGER UNDERMINES CONSUMPTION CROSS GROUND BITER PITS BONE ORCHARD VEIN You can use the above reference to figure out which three signs you must punch, or if you would like to decipher the whole sequence, you can use this guide: So for example, say that you have the following codes appear on the wall: The first line begins with: If we line up the white chalk with the guide, it fits into the top right. If we then line up the red chalk with one of the three letters within, we get the letter "G". The only sign that starts with a G is Ground Biter Pits, so we know that is one of the signs. You can follow the same process with the rest of the code to decipher it, and with the next two lines to figure out which signs to punch. Now that you know the sign names, locate them in the tunnels above. Once you have found them, in any order, punch them with the galvaknuckles in quick succession to spawn the wisp and begin the next step. Note: It is recommended to read the next step before you end the current step.
-
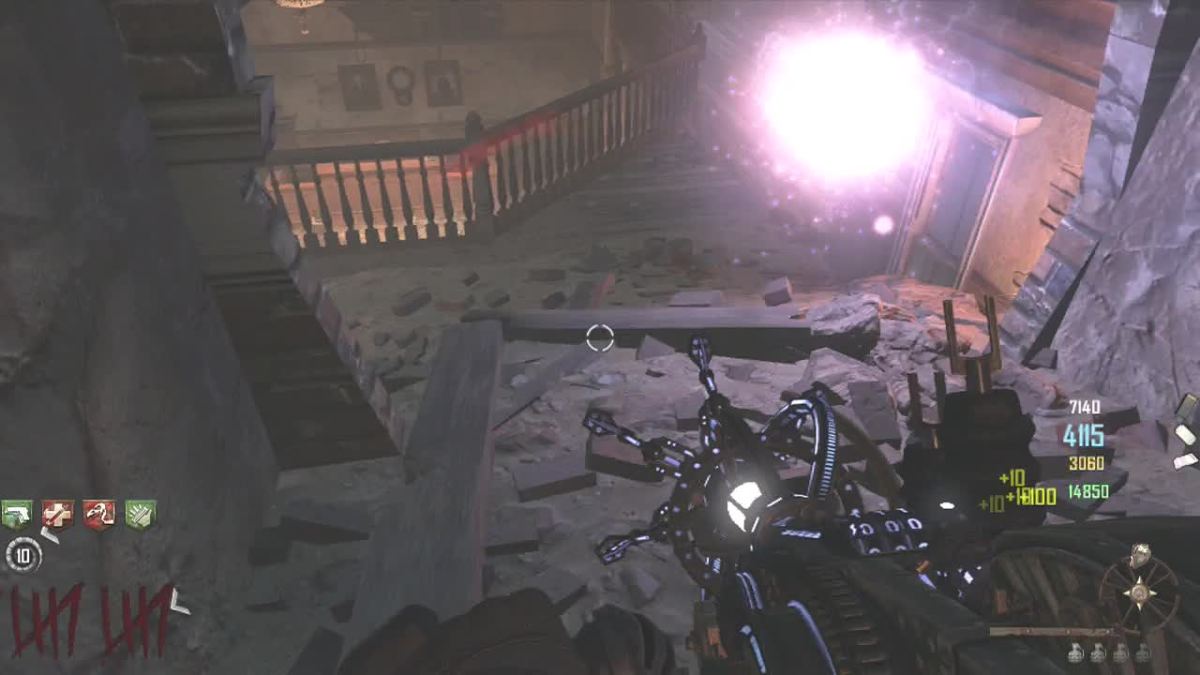
After all four Amplifiers are charged, a purple Lantern will appear, floating from the Courtroom to the Church or from the Courtroom to the Jail. The player needs to use a grenade to knock the Lantern out of the air, timing it such way that the grenade explodes when it is right next to the Lantern. The Lantern will fall down on the ground and the player has to pick it up by interacting with it. Subsequently, the player has to go the the Mansion where it has to kill at least 10 Witches to power up the Lantern. Once the Lantern is powered-up, Richtofen will say that you must use it's power to show the way, and the player has to place it on the roof of the Gunsmith Shop.
-
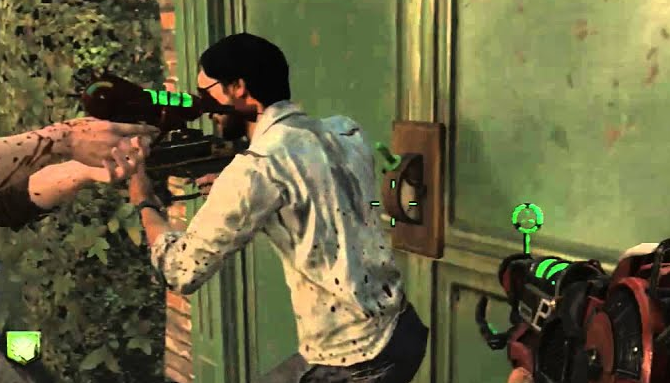
For this step, the player needs to have the Paralyzer from the Magic Box. It is advised to give the Big Guy a candy upon standing in front of the Box, with it's back towards it. Now give him a candy and he will punch the box in the soil, preventing the player to ever roll a Teddy Bear. With the Paralyzer, you need to locate four red orbs, so-called Amplifiers, embedded in the ground. Upon finding one, use the Paralyzer to power-up the orbs. When an Amplifier is fully powered up, it will release a white steam and the player will hear a crystal-like sound. The locations of the Amplifiers are the following: One in the alley between the Saloon and Candy Shop. One on the left side of the Church, behind a large rock laying in front of the Church. One in the mining caverns above the Town. One in the backyard of the Mansion but before the Maze. Upon exiting the Mansion, at the right side of the foliage.
-
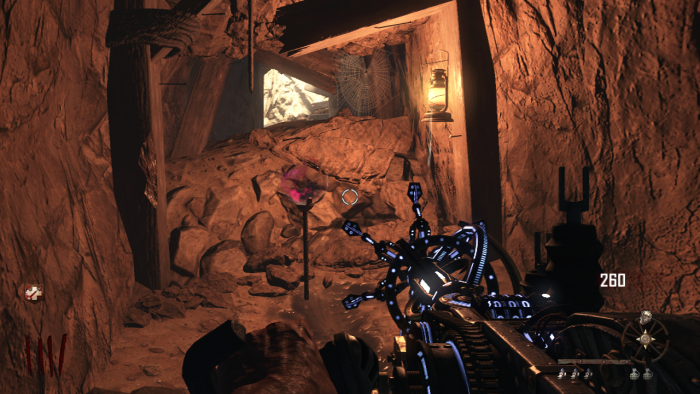
The first thing Richtofen wants you to do is to "build an energy conduit to power the Tower". WIth this he means that you have to build the guillotine. It can be built at the end of the alley on the right of the Saloon, against the wall of the Blacksmith's Shop. Building the guillotine requires four parts. The player can carry only one part at the time, so make sure you add a component at the guillotine building site before you proceed with finding a next part. The sattelite dish: This can be found on the balcony right above the guillotine building site, outside on the second floor of the Saloon. The Crystal: This can be found in a mine cavern. The easiest way to get here is to climb the ladder on the Saloon's second floor to the tunnels above. Turn left, walk till the first crossroad and then turn left again. Jump over the hole in the ground and now walk straight ahead: the Crystal can be found under some collapsed rubble. A spool of wire: This is located at the Blacksmith's Shop, second room downstairs (the same room as the one that provides a tunnel to the bank). An antenna: Located in the barn, downstairs in the stables next to an entrance to the tunnel network.
-
I've always wondered what that page is seen at the right-top of the Buried loading screen: It appears to be a blueprint of some kind. Now the only loading screen we got with a blueprint is that of Der Riese/The Giant. Though the structure in the blueprint appears different, could this have been a hint to BO2's Der Riese? Or in it's current status: BO3's the Giant? It's weird that Origins is not in-between but perhaps, since that is another Universe, it isn't in the comicbook at all.
- 13 replies
-
- cut content
- black ops
-
(and 7 more)
Tagged with:
ABOUT US
Call of Duty Zombies (CODZ) is a fan-managed gaming community centered around the popular Call of Duty franchise with central focus on the Zombies mode. Created in 2009, CoDZ is the ultimate platform for discussing Zombies theories, strategies, and connecting players.
Activision, Call of Duty, Call of Duty: Black Ops titles, Call of Duty: Infinite Warfare titles, Call of Duty: WWII are trademarks of Activision Publishing, Inc.
We are not affiliated with Activision nor its developers Treyarch, Sledgehammer, or Infinity Ward.
PARTNERS & AFFILIATES
Interested in becoming an affiliate/partner or looking for business opportunities? Shoot us an email at [email protected] to join the CODZ family. While you're here, show our partners some love!
SITE LINKS
Our most popular pages made convenient for easier navigating. More pages can be found in the navigation menu at the top of the site.
